Yellow Walls

A fine introduction to the peculiar delights of Yellow Wall. Protection is adequate but it can be tiresome to place in the hard sections.
1. 30m. 5a/b. From the end of the abseil, climb to the base of a corner capped by a diagonal roof. Climb this, then break out right under the overhang (with an increasing degree of difficulty / urgency) to pull up onto a slab. Move right to belay at the base of a groove (NB this single pitch combines the original first two…much more sensible).
2. 20m. 5b. Climb the groove for a couple of moves. Move left to a quartz crack (runners) carry on left for another 3 meters (very steep territory) to reach an obvious spike. Move up (feet on spike) to reach a resting position (thankfully). Traverse diagonally left to reach an an obvious break that runs back right to the top (dirty in places). It is also possible to take a direct finish up the slightly overhanging crack above the break.
The Holliwell brothers, 1 June 1969.
Book of Ages E5 50m
Well protected with excellent rock.
1. 30m 6b. Start below the groove of The Savage and take the undercut arete between that route and Perygl. The arete leads to a junction with Perygl under a roof, Perygl goes out right. Book of Ages goes goes straight over the roof above. Interesting moves reach the slab and belay above.
2. 20m 6a. Step left into the bottomless groove and climb it direct to the obvious crack above. Finish as for The Savage direct for the last few feet.
Mike Twid Turner and Louise Turner, May 2007.
A line I had climbed previously for its first pitch many years ago, now with an independent second pitch.
A name reflecting the time taken for the next guide book to the area.
1. 18m. 4c. Shuffle up the groove, and belay beside an obvious wide crack.
2. 25m. 5c. Follow the crack around an arete to a bomb-bay groove. Difficult moves up and then back left under an overlap, lead onto a slab and belay.
3. 25m. 5b. Move up and into a groove, then cross the hanging slab to a stiff little wall. Climb diagonally right, and move around a steep arete, peg, to reach a steep groove, and finish up this.
Joe Brown, Pete Crew (5 pts aid) 7 April 1969.
1 4c 15m. As for Pergyl p1.
2 6a 18m. Follow Pergyl around the arete then take the upper pocketed wall of The Drunk to a belay at the end of the roof beneath the groove of Creeping Lemma.
3 5c 18m. Take the steep diagonal crack in the right arete of Creeping Lemma’s top groove. Follow the continuation break beneath the small overlap to the top.
Dave Garry and Neil Griffiths 2011. Rediscovered by Alex Mason and George Ullrich, May 2013.

1. 10m. 4c. As for The Moon. Climb the short corner and belay on a ledge/cave (occasional seagulls).
2. 20m. 6b. Follow the slanting cracks rightwards for 2m then attempt to break left throught the ‘line of weakness’ in the roof. Yes, that was the crux. Pleasantly stroll on up the slab above and a belay shared with Perygl.
3. 25m. 5b. As for Perygl pitch 3.
Thoroughly deserving its classic status. According to first ascentionist Ed Drummond; The situations are strictly spacewalking.This may be the best trad climb in the world. It has exposure, commitment and uncertainty in abundance.
Start beneath a short corner on the left side of the wall.
1. 10m 4c. A ‘harder than it looks’ pitch. Climb into the cave (occasional seagulls) to take a belay.
2. 30m 5c. The Pitch! Fabulous to lead, and tough to second…this is the essential Gogarth experience. Most people find enough reserves and determination to hang on. A great lead for the ‘thinking climber’…thugs may come unstuck! Break out right from the belay and continue traversing rightwards and upwards, always finding the easiest passage. A final tricky traverse right enables the belay to be clocked; an exposed blocky ledge in the middle of the wall and shared with most other routes acting as a central hub.
3. 30m 5b. An appropriate finale: great holds and biting exposure in a safe situation: savour this pitch. Best done in the teeth of a gathering storm. Intuitively follow the twin cracks in the rightwards rising rampline. Steeper and more awkward than it looks.
.
Me E6 *** 98m
4a. 43m 6a. (Original description). Climb up, easy but dangerous, to an overlap 6m left of Dogs of War. Move left and go round the overlap. Move up an insecure groove on flakes and small fins, to two very poor pegs on the right. Carry on, on sloping holds, until a long reach back right, on good rock, to an inverted groove. This leads gingerly over a block to the top.
Spectacular and well-protected. Mostly very reasonable for the grade apart from the flake-crack. Those with a traditional ‘thin hands’ jamming competency and finding dry conditions will romp up this too; it is more usual to thrash and dangle. Start as for The Moon, below a left to right diagonal overhanging flake-crack where it all gets steep.
1. 35m. 6a. Up trending rightwards to the overhanging crack. If you are lucky this will only be damp. Grapple with the crack (good training for Astroman…or vice versa?) into the easier continuation groove. Traverse right to an open corner and right again around the arête and go up to belay as for The Moon.
2. 30m. 5c. Launch straight over the overhang above the stance into a niche. Go over another roof into a groove leading to a slab and terra firma.
Dave Pearce and Paul Trower, (2 points aid) 1976. FFA Pete Gomersall or Joe Healey 1980.
The Owl and the Pussycat E6 ** 65m
1. 20m. 5a. Follow the highest traverse line to belay below and right of a cave/overhang in the wall above, just over halfway to the promontory of The Sind/Creeping Lemma. Cams useful on the belay.
Mick Fowler and Mike Morrison 7/8 April 1978 3 points aid. FFA Andy Pollit and Steve Andrews,10 May 1984. Second free ascent Stevie Haston 1980s.
Beefhoven E6 75m
2. 25m 5c. Climb up a sandy wall, to the right of Ludwig, to a ledge. Go up to an undercut flaky crack then strenuously pull up and slightly left to meet The Cow. Follow this to the belay.
The Yellow Shark E7 75m **
1. 10m 4c. The Moon p1.
2. 30m 5c. The Moon p2.
3. 35m 6b. Head out rightwards along the ramp, below the top pitch of The Moon, to join Me at the two pegs. Continue easily up this for 7 metres to a spike on the left. Grapple with fins out right to a ledge and continue to the base of the groove (cunning no hands head jam). Difficult moves, crux, with massive fall potential, lead into the groove. Follow this to the capping bulge, traverse right and move up to jugs.
1. 28m 5c. This pitch famously “takes no prisoners”. It starts from the boulder beach below the horrific territory above. Cross a wet slab and then climb a short flake onto a ledge containing some grass cauliflowers. Climb the open scoop above trending rightwards utilising a four to one mixture of shale and cement to reach some flakes on an arete. Move up to large quartz holds then traverse back left and move down to belay on blocks.
Stevie Haston and Ray Kay over 2 consecutive weekends, July 1986. Originally climbed in 4 pitches with a hanging belay in The Sind. Top pitch repeated by Crispin Waddy 1980s. Entire route repeated by Mike Twid Turner and Owain Jones 1980s.
.

.
Creeping Lemma E2 *** 108m
1. 50m 4c. Easy, but all the more frightening for the lack of decent gear. A leftwards traverse across the grey wall into a groove, and then up.
2. 18m 5b.I know at least one E5 leader who couldn’t do this, but it really *is* only 5b! Easy climbing across the ledges to the narrowing at the corner. Cunning, rather than crimping, will pay dividends here.
3. 40m 5c. Now it gets hard! Continue with your leftwards progress, reversing the slab of The Moon, to make hard moves up and left through bulging rock to a groove and relief.
1. 28m 5b. Traverse out right along the higher quartzy line of weakness, taking care with the ropes. Belay securely beneath a small roof. This protects you from inevitable and dangerous debris.
2. 43m 5c. Climb up and left to the base of a groove; the commitment begins here. The way ahead is obvious, but there are many hazards en route. Proceed with as much caution and lightness of step as you can muster. Once past the big roof and into the final groove, the horror eases.
.
1. 37m 5a. Follow the obvious lower diagonal break, taking the easiest line to gain the apex of the large promontory.
2. 37m 5b. The diagonal line continues up the obvious golden slab above the promontory. Gain the slab from the left and follow it with interest all the way to the top. Sustained sandiness with lots of runners in softish rock.
Joe Brown, Pete Crew 28 Oct 1966. Second ascent Richard McHardy.

The opening spread for the Yellow Wall chapter in the Gogarth South guidehttp://news.v12outdoor.com/2012/04/
.
.
Worrying rock and doubtful protection, make this an unpopular route. It shares common ground with Pterodactyl, essentially consisting of a variation start and direct finish to the main groove of Pterodactyl. Start at the top of the ridge, just right of p2 of The Sind.
1. 40 feet. 5b. From the apex of the ridge traverse right, and climb the groove, with a horizontal traverse right to the base of the Pterodactyl groove.
2. 120 feet. 5a. Climb the Pterodactyl groove for 30 feet to the flake on the left wall where it curves right. Pull out left onto the wall. climb over an awkward bulge and trend right to finish.
Mick Fowler, Mike Morrison 1 May 1978.
A steep and strenuous route taking the prominent S-shaped groove to the right of The Sind. Allegedly equal to any other of the routes around the grade on the wall. The rock on the first pitch is sound and on the second pitch is no worse than The Sind. Scramble up the grass ramp in the middle of the wall to the foot of the groove.
1. 45 feet. 5b. Climb the rightward slanting break and exposed rib, crux, to reach manky pegs and a small exposed stance at the foot of the vertical groove.
2. 120 feet. 5a. Climb the groove until it bends to the right, forming a small roof, traverse right to a peg (possibly missing) placed vertically up under the roof, pull over the roof and so continue to the top.
Geoff Cram and Mike Yates, 16 Oct 1966. This was the first route climbed on the Yellow Wall. Second ascent Richard McHardy.
UKC Thread about this route.
.
The 1977 guide states rather cryptically; “The wall immediately to the right of Pterodactyl has also been climbed”.
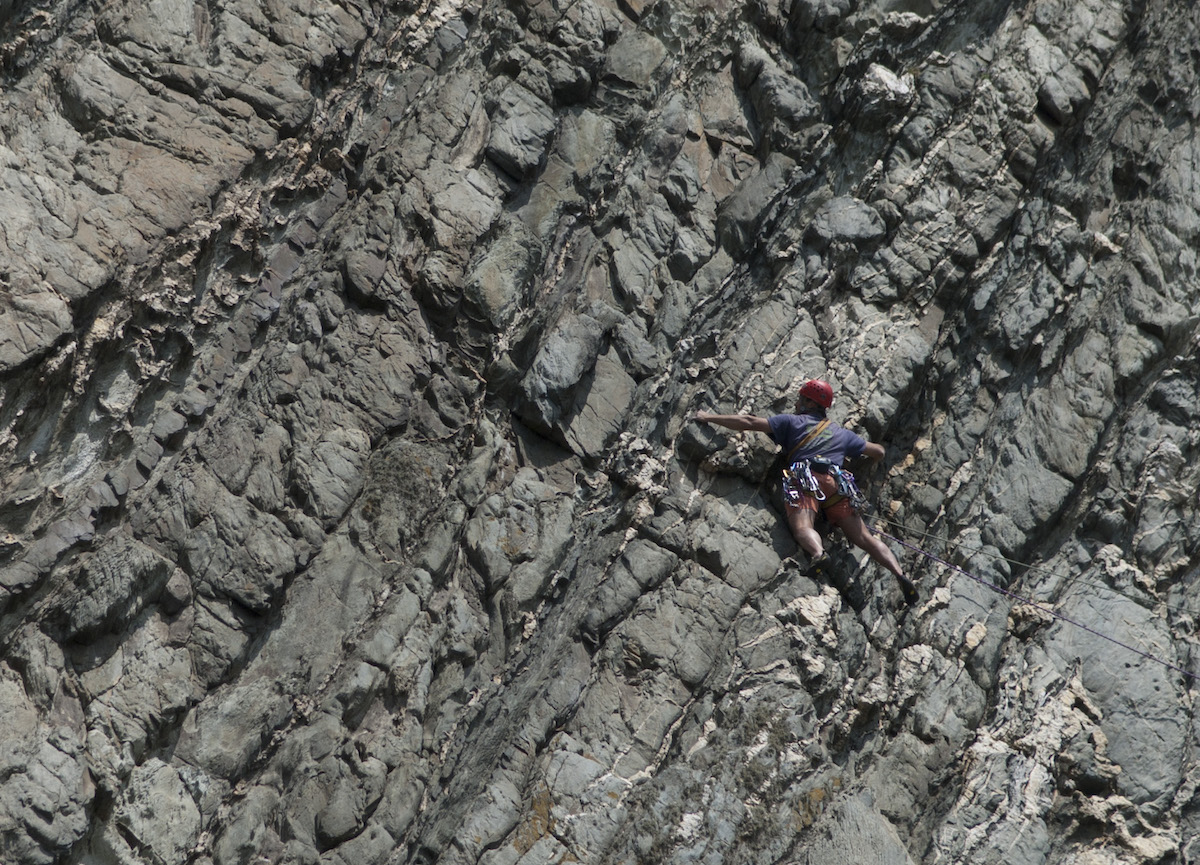
![[Untitled]](http://image.wikifoundry.com/image/1/li4zgri3MfwHjDHVa5cSbw310883/GW437H671 "[Untitled]")
Grant Farquhar on Sign of the Sundog second ascent. Photo by Alun Hughes.
.